Aussie Bushwalking Safety Guide: Essential Gear & Survival Tips for Australian Trails
Australia 19 August 2026



Australia boasts some of the most spectacular, rugged, and untamed wilderness in the world. From the ancient sandstone escarpments of the Blue Mountains and the razorback ridges of the NSW Southern Highlands to the remote, sun-baked tracks of the Top End, exploring the Australian bush is a cornerstone experience on every adventurer’s bucket list. However, our continent’s raw, natural beauty is matched by its deceptive unforgiveness.
The ongoing search for missing 18-year-old bushwalker Lily Hooper on the Bonnum Pic Walking Trail in Nattai National Park serves as a poignant and sobering reminder of how rapidly conditions can shift in the Australian wilderness. Bonnum Pic is renowned among local bushwalkers as a demanding, technical ridge walk bounded by steep vertical drops, dense scrub, and unpredictable terrain where mobile coverage quickly vanishes. Even for fit and experienced hikers, a single missed landmark, sudden daylight loss, or minor injury can quickly elevate a day trip into a critical survival situation.
At Aussie Bucket List, we want every traveler and hiker to experience Australia’s breathtaking landscapes safely. Whether you are tackling a popular day hike or heading deep into remote backcountry, here is our comprehensive guide to Australian bushwalking and hiking safety, pre-trip planning, essential gear, and emergency protocols.
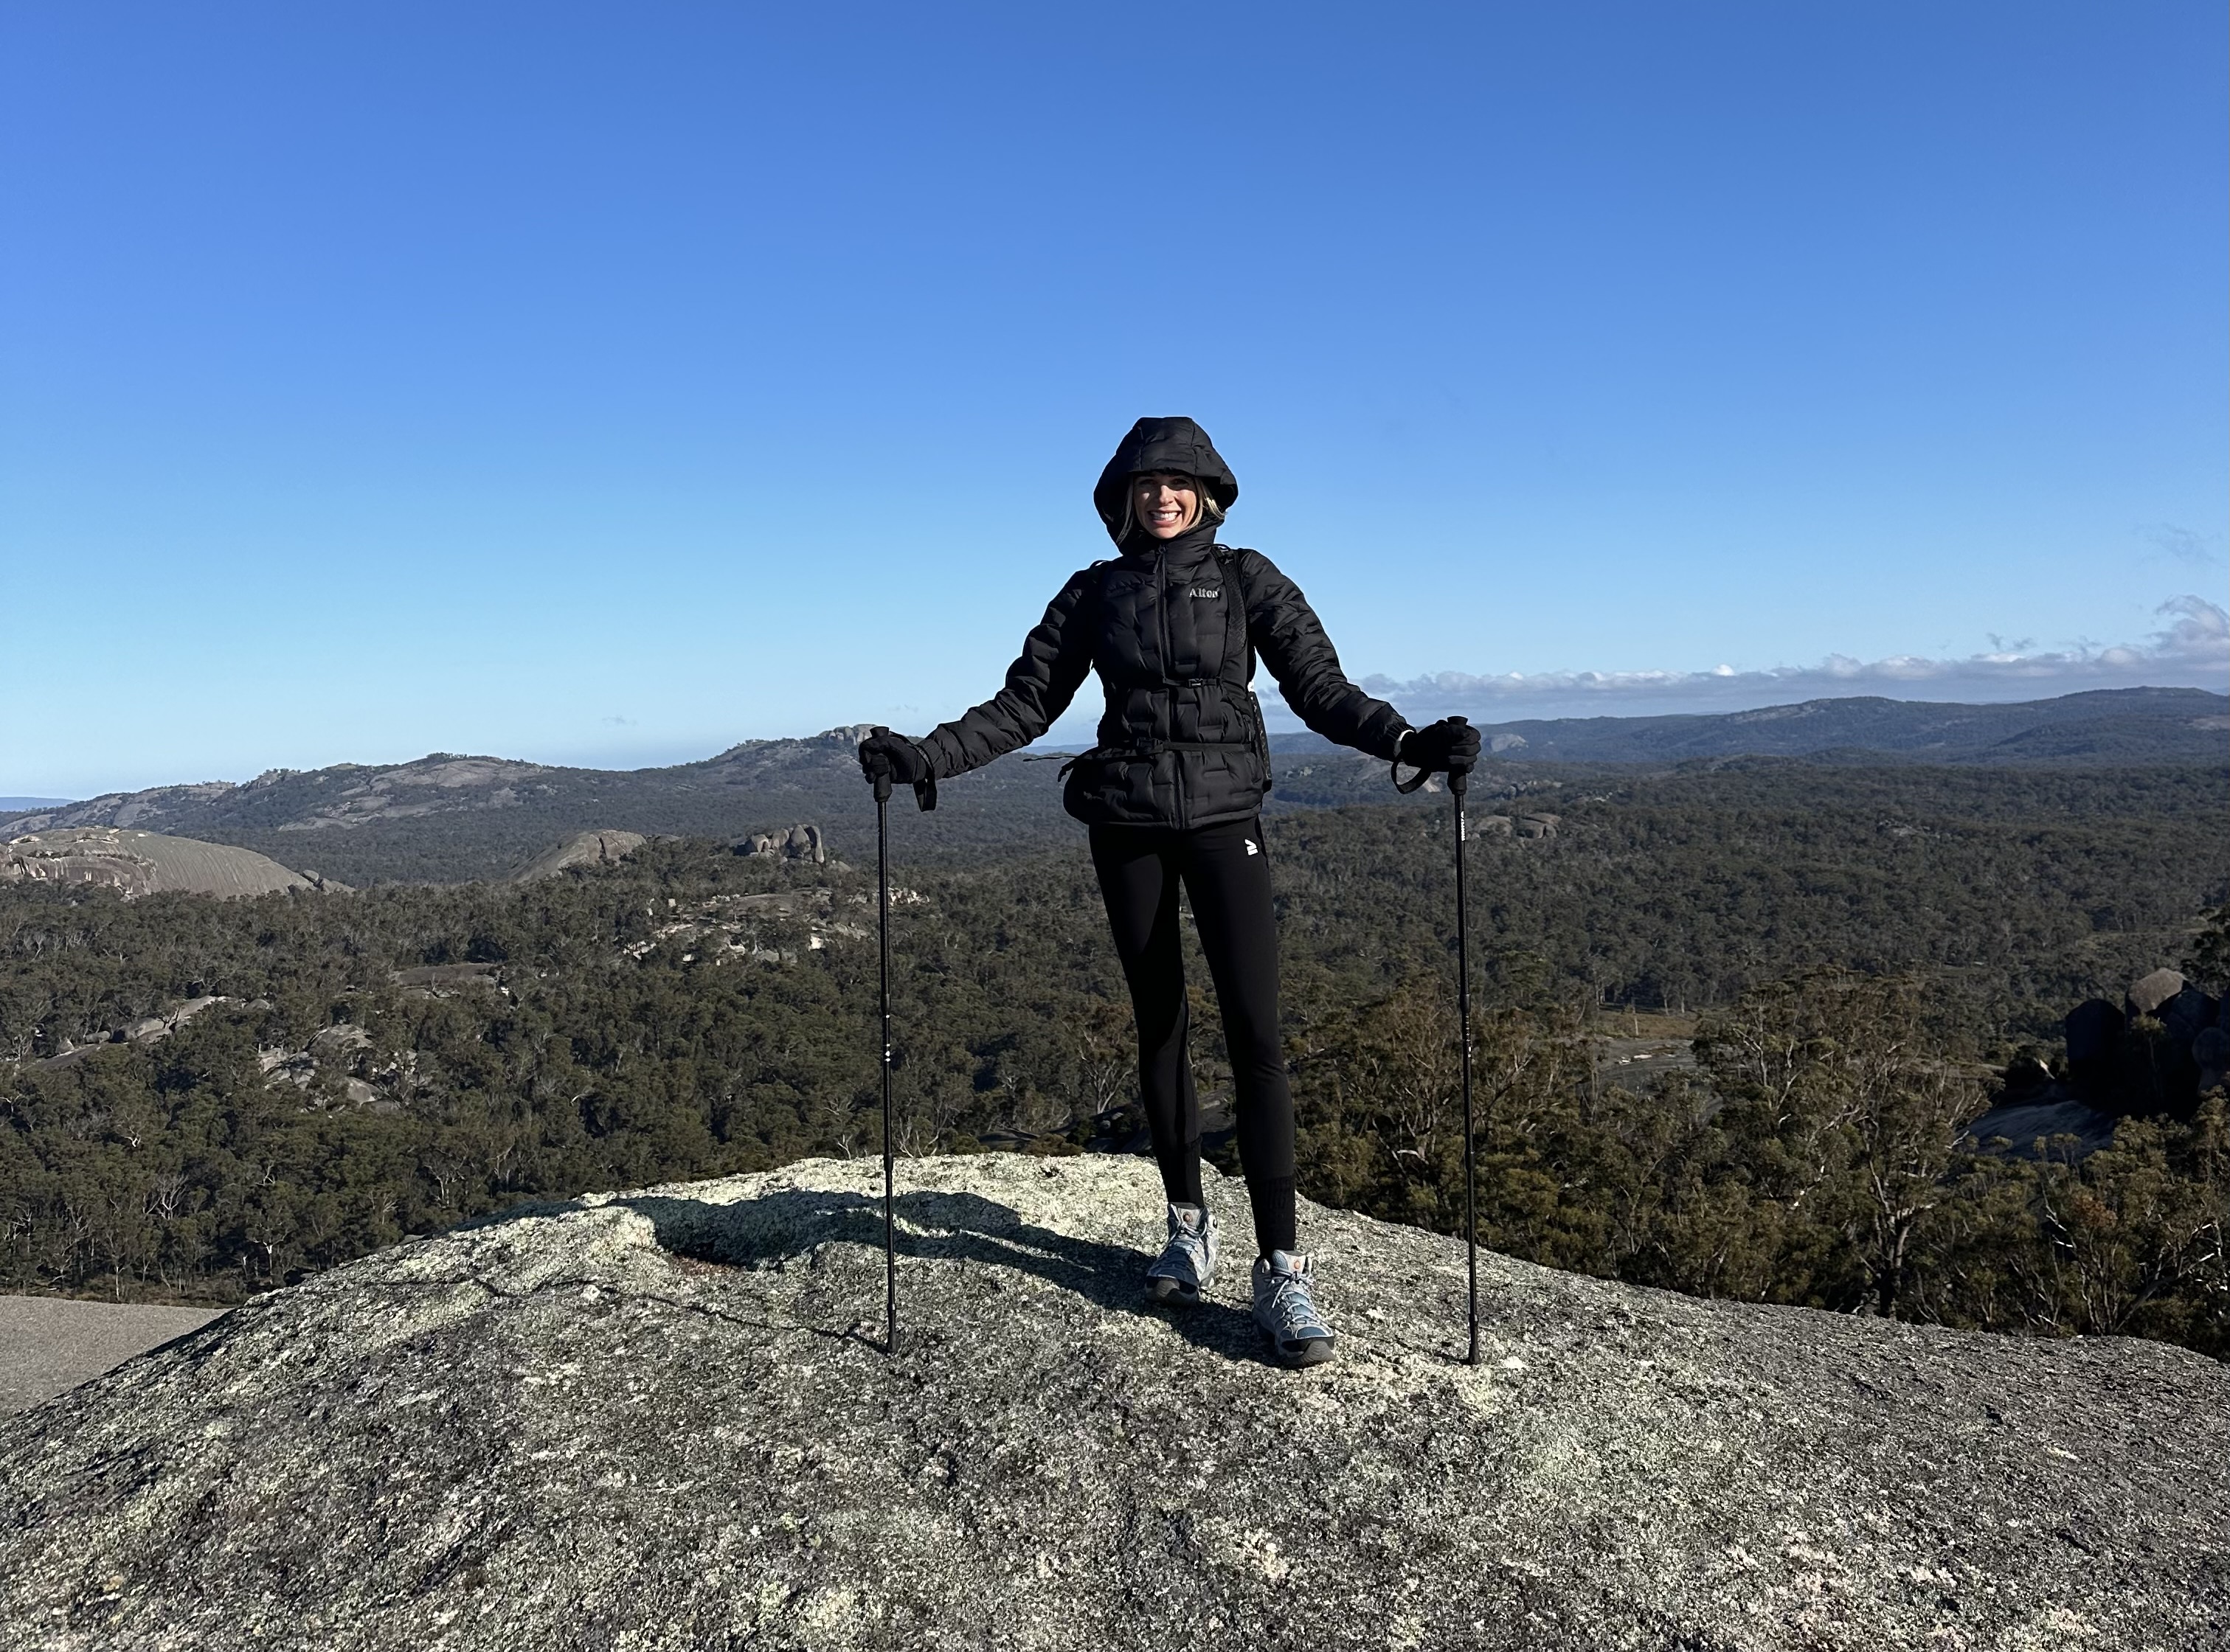
Above image: Samantha Porter - Founder Aussie Bucket List
From early childhood I have spent much of my life in the Aussie bush, it feels like home to me. My parents owned a 100+ acre property in the bush along the Wollondilly River, right near where Lily has gone missing. As young kids, we would venture out for hours on end, hiking to the top of nearby mountains, swimming across the river, no mobile phones, no compass, no adults, plenty of brown snakes, red bellied black snakes and wild boars, but instinctively we were always able to find our way back home to our families bush cabin located along the river. We knew this tiny section of the Aussie bush like the back of our hands; however, it is essential that in unfamiliar territory you are always well equipped for the worst-case scenario.
1. Understanding the Australian Wilderness Environment
Unlike many heavily manicured trail networks across Europe or North America, Australian bushwalking trails often traverse wild, unmaintained terrain. Understanding the specific environmental factors unique to Australia is essential before setting foot on the trail:
- Rapid Microclimate Changes: Temperatures on exposed ridgelines or deep gorge floors can drop rapidly. Cold fronts, unexpected squalls, or extreme heat spikes can catch hikers off guard.
- Deceptive Topography & Thick Scrub: Bushland in regions like the Nattai National Park, Blue Mountains, Tasmanian and Victorian Alps features dense regrowth, loose sandstone scree, and false ridges that make visually maintaining a trail challenging.
- Zero Mobile Reception: Never rely on mobile phones for emergency calls or live mapping. Deep gullies and remote valleys block signal entirely.
- Dehydration & Heat Stress: Even in cooler months, low humidity and high physical exertion cause rapid fluid loss. Water sources along ridges are often non-existent or unreliable.
2. Pre-Trip Preparation: The 5 Non-Negotiable Rules
Safety begins long before you arrive at the trailhead. Meticulous planning is your primary line of defense against getting lost or injured.
Rule 1: Always Leave a Detailed Trip Intentions Plan
Never head into the bush—especially solo—without leaving a detailed plan with a trusted contact or submitting a Trip Intention Form with local police or national park authorities.
Your plan should specify:
- Exact Route: Trailhead name, planned tracks, intended lunch/rest stops, and turning points.
- Vehicle Details: Make, model, color, and registration number parked at the trail entrance.
- Group Info: Names, contact numbers, and medical conditions of everyone in your group.
- Overdue Action Time: A firm cutoff time (e.g., "If I have not made contact by 6:00 PM, notify Emergency Services on 000").
Rule 2: Check Trail Classifications & Conditions
Australia uses the Australian Walking Track Grading System (Grades 1 to 5):
- Grade 1–3: Formed tracks, suitable for most fitness levels.
- Grade 4: Rough tracks with steep inclines and limited signage; requires hiking experience.
- Grade 5: Unformed, highly technical tracks for experienced navigators with specialized survival gear.
Before leaving home, always check official alerts on state park websites (such as NSW National Parks and Wildlife Service) for trail closures, total fire bans, or landslide warnings. We include links to each relevant National Park website on all of our hiking trails listed on our Aussie Bucket List platform, so you can easily check trail conditions prior to leaving home for your hike. Even on easy grad 1-3 trails, I always check the relevant national parks website prior to leaving home as often there can be trail closures, and you don't want to waste all this time driving to the trailhead / planning for a hike on a closed trail. I've certainly learned the hard way on this one!
Rule 3: Carry & Master Analog Navigation
Batteries drain quickly in low temperatures or when phones continuously search for cellular signal. Always carry a local printed 1:25,000 topographic map sealed in a waterproof case and a magnetic compass—and ensure you know how to take a compass bearing before you need to use it. We always carry a fully charged portable battery charger with us on all of our hikes. This is a non-negotiable.
Rule 4: Know Your Sun & Daylight Hours
Thick canopy cover and deep valleys shorten daylight hours dramatically. Always calculate your turnaround time based on local sunset, reserving at least 1–2 hours of daylight buffer time.
Rule 5: Be Honest About Fitness & Skill Levels
Plan your trek around the least experienced member of your group. Pushing past physical limits leads to fatigue, poor decision-making, and increased risk of slips or falls.
Rule 6: Water and Snacks
ALWAYS carry at least triple the amount of water that is actually required for your hike. A Camelback is an easy way to carry additional water. And ALWAYS have snacks packed. Personally, I always carry a Hydrolyte tube with me on all of my hikes, along with glucose lollies, muesli bars, and fruit such as bananas or apples.
3. Essential Packing List: What Every Bushwalker Must Carry
Whether you are going on a 2-hour walk or a full-day expedition, your daypack should always contain survival items to sustain you through an unexpected overnight stay in the bush.
Communication and Rescue
Personal locator beacon (PLB) or EPIRB: An EPIRB stands for Emergency Position Indicating Radio Beacon. It is a portable, battery-powered safety device used on boats or for hikers and explorers. When turned on during a severe emergency or if a boat sinks, it sends a strong distress signal to search-and-rescue satellites.
How an EPIRB Works:
- Signal Broadcast: It transmits an emergency signal on the global 406 MHz frequency.
- Location Tracking: Built-in GPS or GNSS technology pinpoints your exact coordinates and sends them to rescue teams.
- Global Coverage: Satellites detect the signal anywhere in the world, far beyond regular cell or radio range.
Main Types of EPIRBs
- Category 1: Pops out and turns on by itself when it touches water (if the ship / plane sinks).
- Category 2: Must be taken out of its holder and turned on by hand.
Please see below video explaining what an EPIRB is.
Navigation
- Paper Topography Map
- Magnetic Compass
- Offline GPS App (e.g., Avenza / AllTrails)
Each of these navigational resources ensures continuous directional awareness even if electronic devices fail. One very important factor is knowing how to use a map and magnetic compass. Please take the time to watch the instructional video below on how to use a magnetic compass and topography map while out in the bush.
Hydration and Nutrition
Essential hydration and nutritional resources to bring with you as a minimum on any length hiking trail:
- 3L+ Water
- High energy snacks (glucose lollies, trail mix, muesli bars)
- Water Purification Tablets or Filter
- High-Energy Foods & Electrolytes
Ensuring you have enough hydration and nutrition on you during your trail hikes helps to prevent dehydration, hyponatremia, and cognitive impairment, especially during extended hikes.
Emergency Shelter and Thermal Layer
- Emergency Space Blanket / Bivvy Sack
- Lightweight Waterproof Rain Jacket
- Fleece Layer
The above essentials could literally save your life by helping you to guard against hyperthermia in extreme heat and severe hypothermia during unexpected overnight exposure.
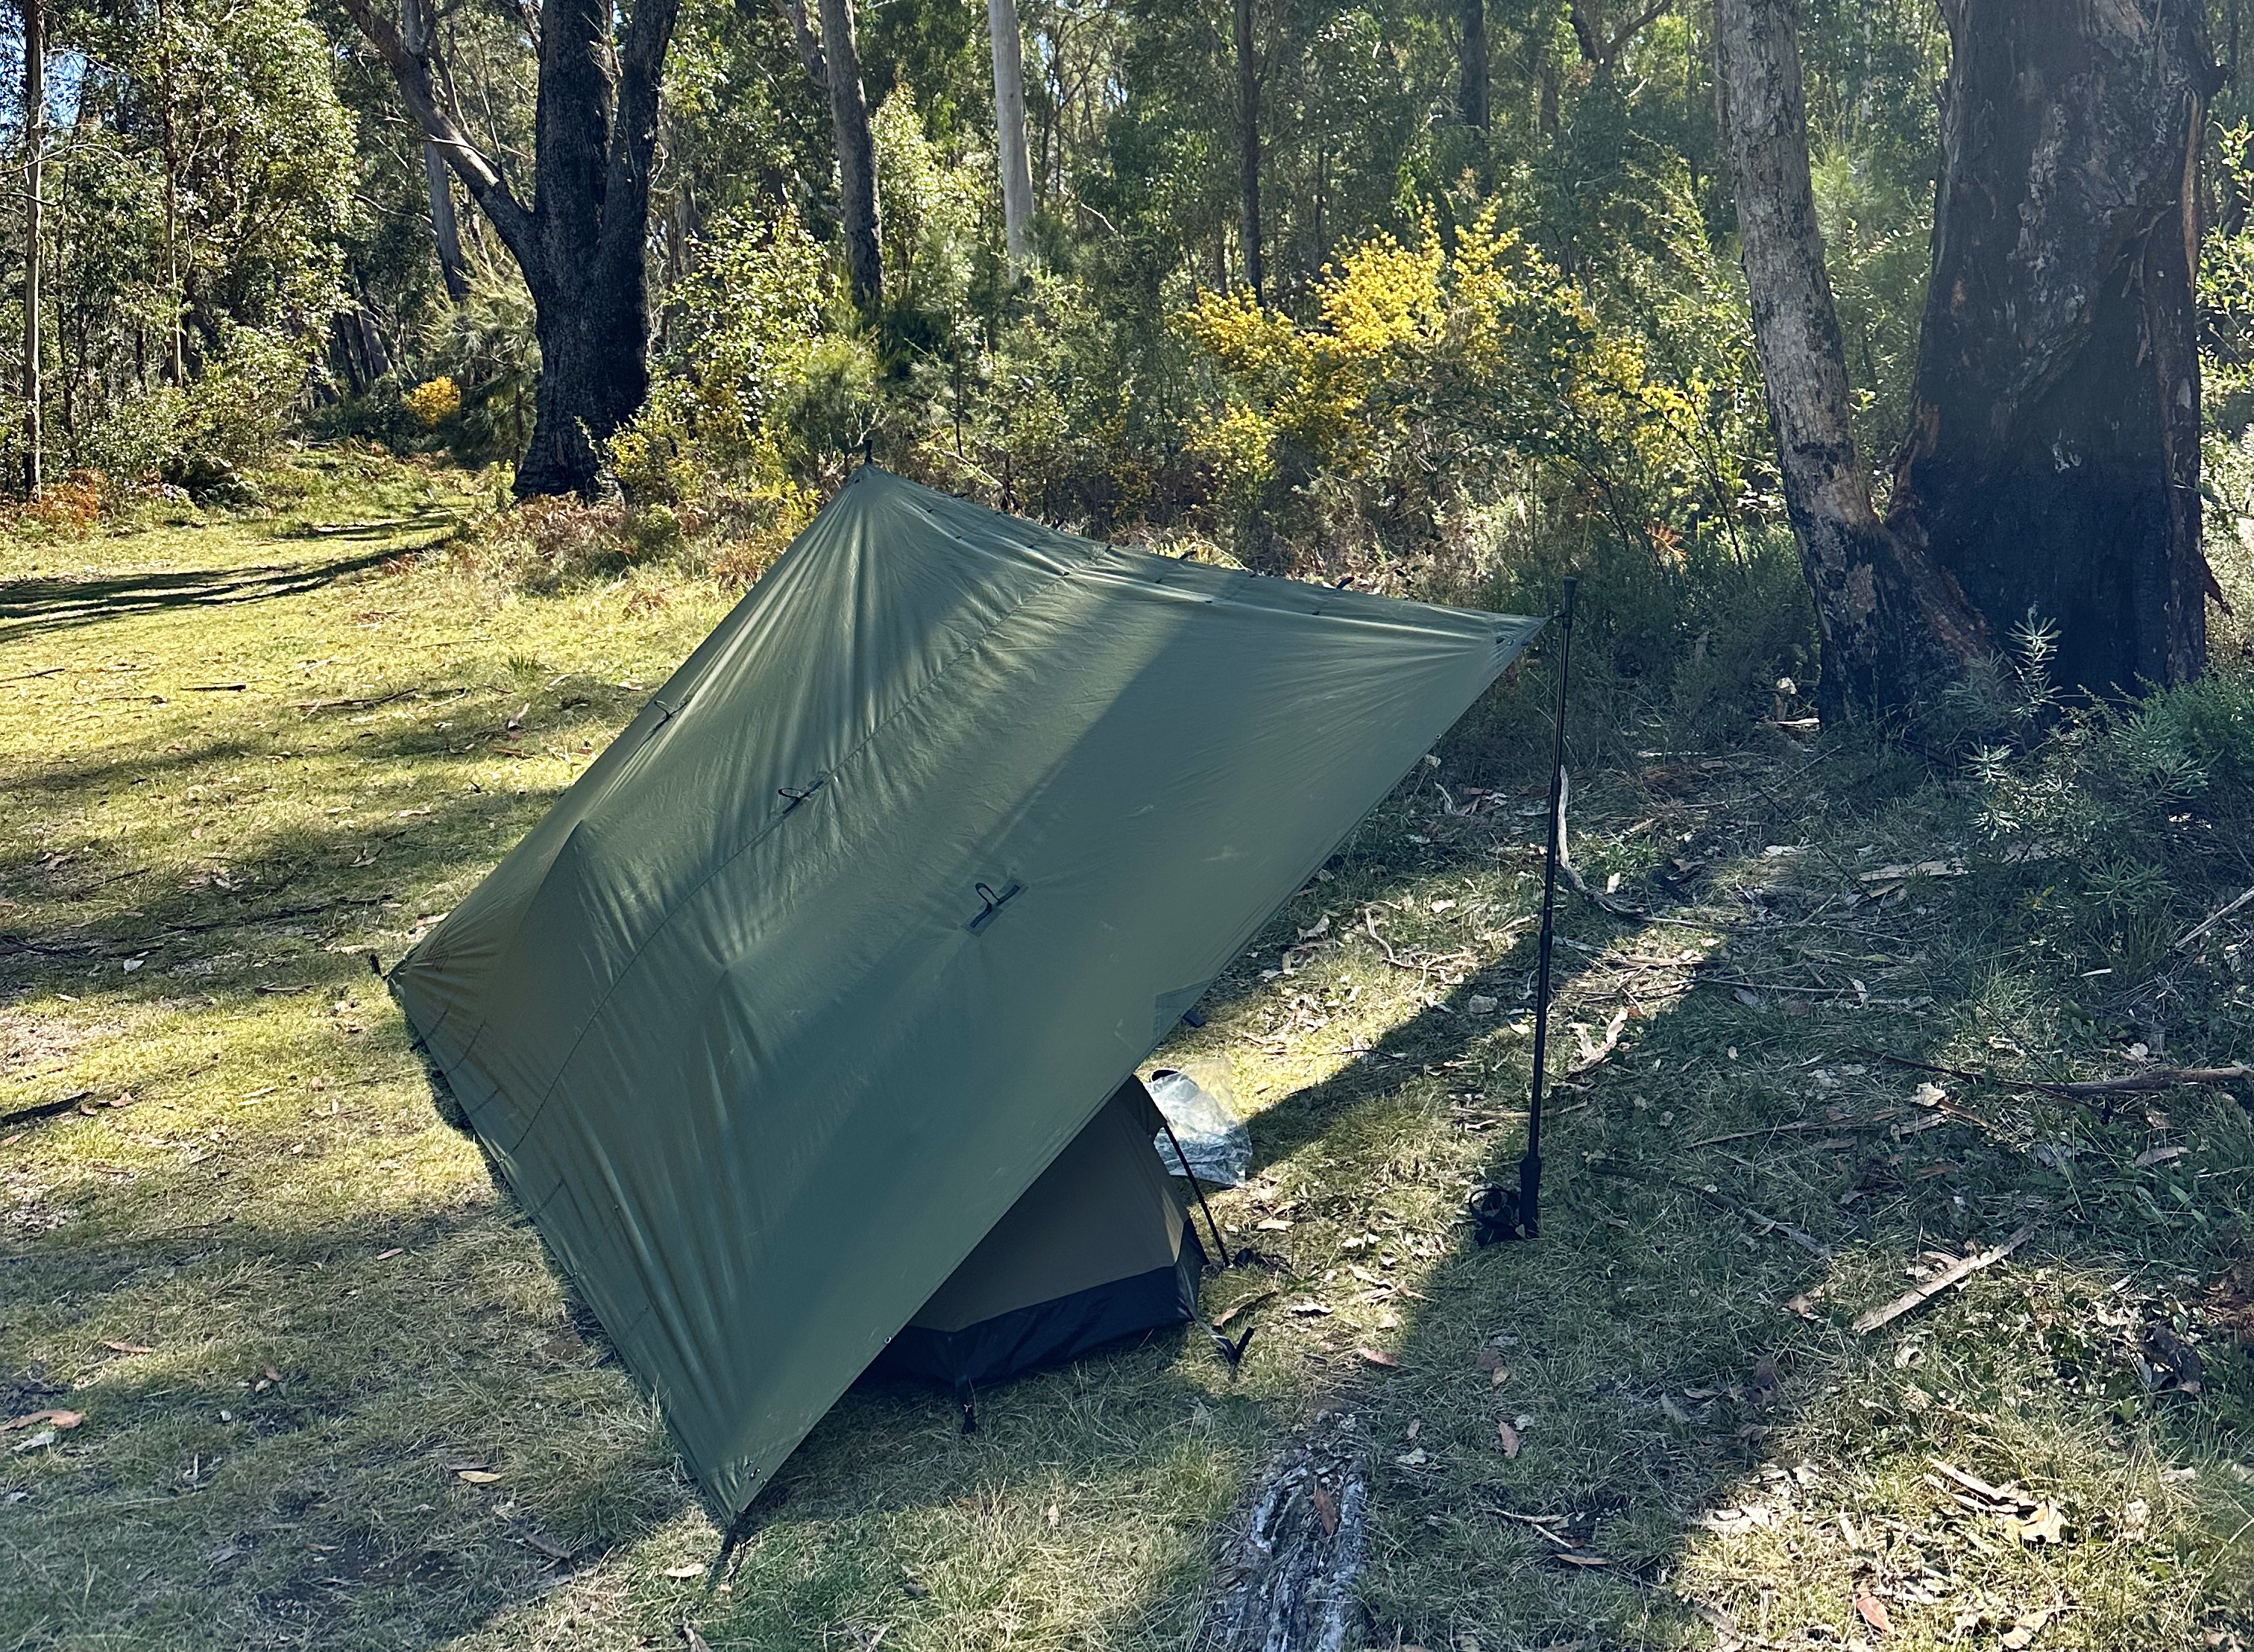
The below set-up is by our friends at Alton Goods. An Aussie owned company that specialises in lightweight hiking gear.
Illumination and Signalling
- LED Headlamp (with spare batteries)
- Loud Emergency Whistle
- Signal Mirror
- Matches / equipment to light a fire
The above hiking essentials are crucial for night navigation, setting up shelter, and signaling search helicopters or ground teams when lost, injured or in distress.
First Aid
- Smart Snake-Bite Compression Bandage
- Antiseptic
- Blister Dressings / Band-Aids
- Personal Medication including Paracetamol
A smart snake-bit compression bandage is crucial for immediate pressure immobilisation treatment of venomous elapid snake bites (e.g., Eastern Brown, Red-Bellied Black).
We are affiliates of Survival First Aid Kits. Use code 'AUSSIEBUCKETLIST' to receive 10% OFF at checkout. See here: survivalfirstaidkits.net.au/AUSSIEBUCKETLIST
4. Emergency Protocol: What to Do If You Get Lost (The S.T.O.P. Rule)
If you realize you have lost track markers or cannot confirm your location, do not panic. Adopting the S.T.O.P. framework immediately increases your chances of a quick resolution and rescue:
S — STOP: Stop walking immediately. Sit down, take a deep breath, and calm your heart rate. Continuing to walk when disoriented often leads hikers further into treacherous gorges or impassable scrub.
T — THINK: Retrace your steps in your mind. When was the last clear trail marker, ridge point, or creek crossing you saw? How long ago was that?
O — OBSERVE: Examine your surroundings, remaining water, daylight levels, and weather. Check if you have mobile signal or satellite connectivity. Look for safe, clear ground nearby if night is approaching.
P — PLAN: Decide on a clear, safe action plan. If you cannot safely backtrack to a known point within 15 minutes of daylight, prepare to remain in place and set up your emergency shelter.
Search & Rescue Insight: If you trigger a PLB or call emergency services, stay in your position. Search units (including PolAir and thermal drones) focus on the beacon's coordinate radius. Wandering away from your signal point makes locating you far more difficult.
5. Final Thoughts for the Aussie Adventurer
The Australian bush offers world-class beauty, freedom, and adventure. Respecting the power of the natural environment by preparing thoroughly, respecting trail difficulties, and carrying the correct emergency equipment ensures that every journey into the wild remains safe and memorable.
As the community keeps missing hiker Lily Hooper and her family in their thoughts, let’s honor the spirit of exploration by looking out for one another, sharing trip plans, and prioritising safety on every single trail.
For more Australian travel guides, safety tips, and bucket-list trail itineraries, explore the rest of Aussie Bucket List.
Written by Samantha Porter - Founder of Aussie Bucket List
Book your experience now!